...
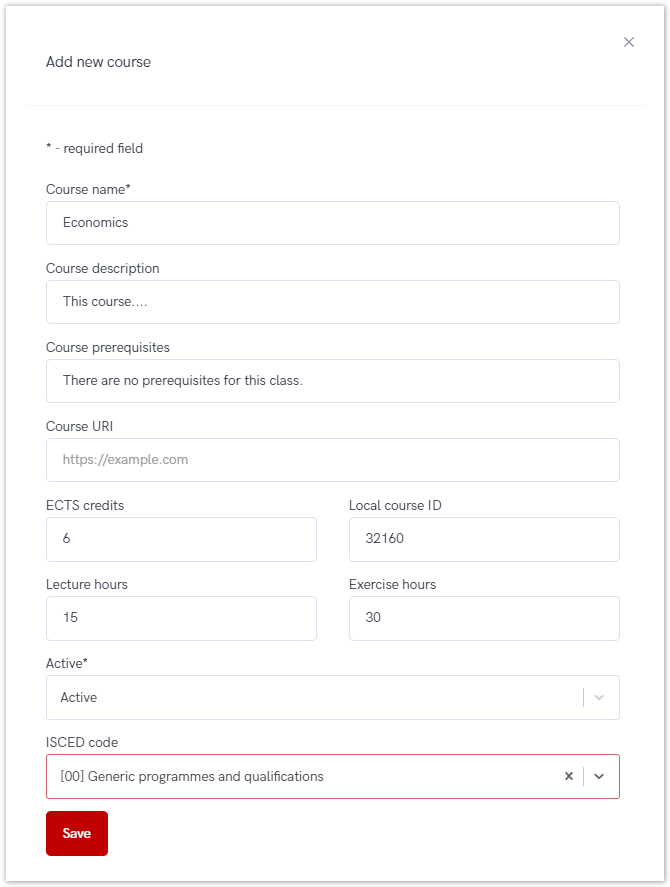
Some of the fields are required, such as: Course name, Course description, ECTS credits, Local course ID, information is the course is active or not and ISCED code.
Figure 3. Adding a new course
...
| Info |
|---|
| Editing is possible until the start date of the course. |
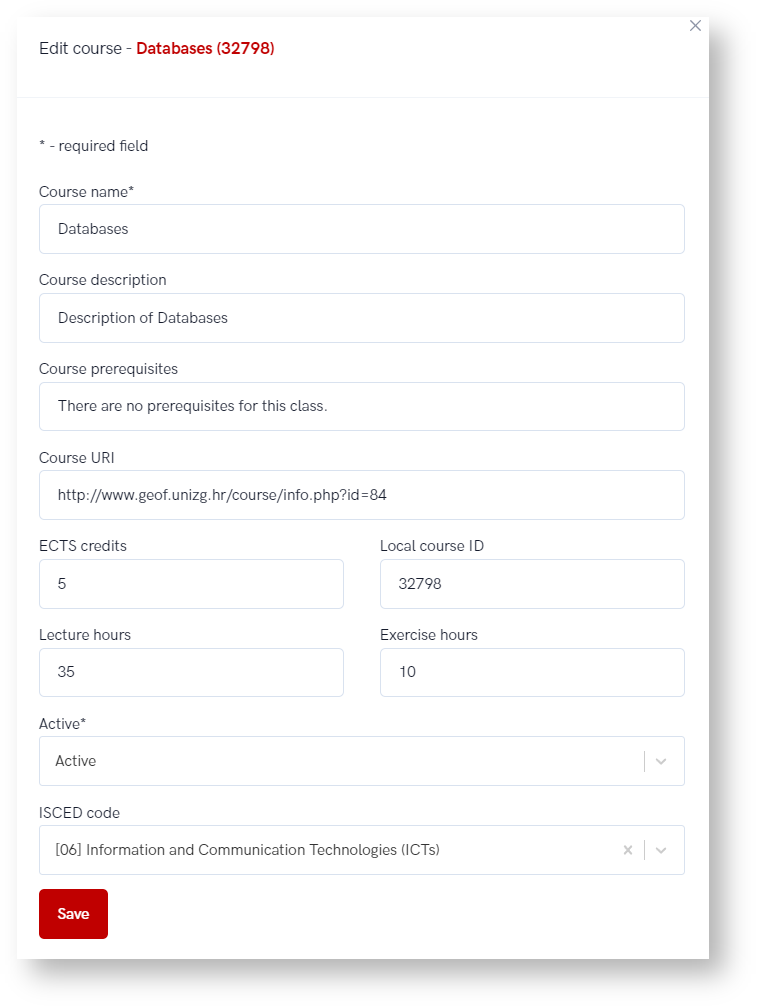
Figure 5. Editing the course data
...
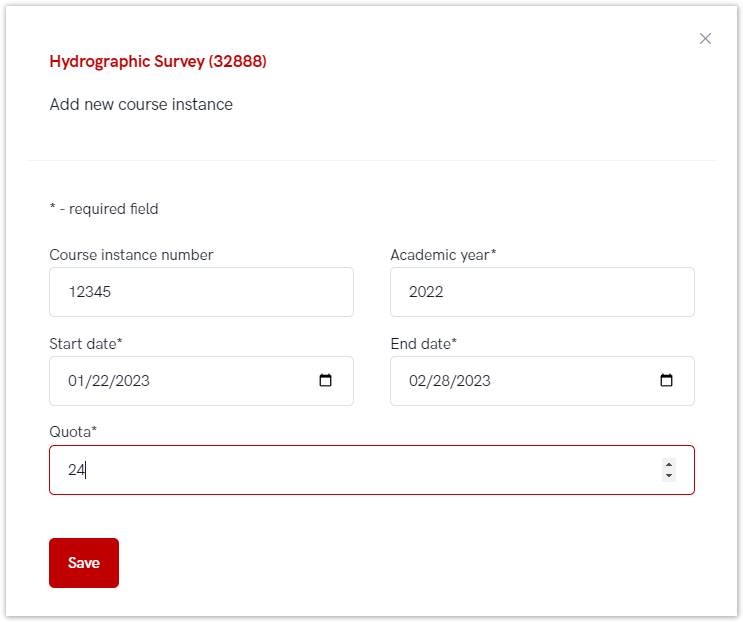
To add a new instance, the administrator must select the New instance button and enter information about the code, the academic year, the start and end date, and the number of students who can enroll in the course.
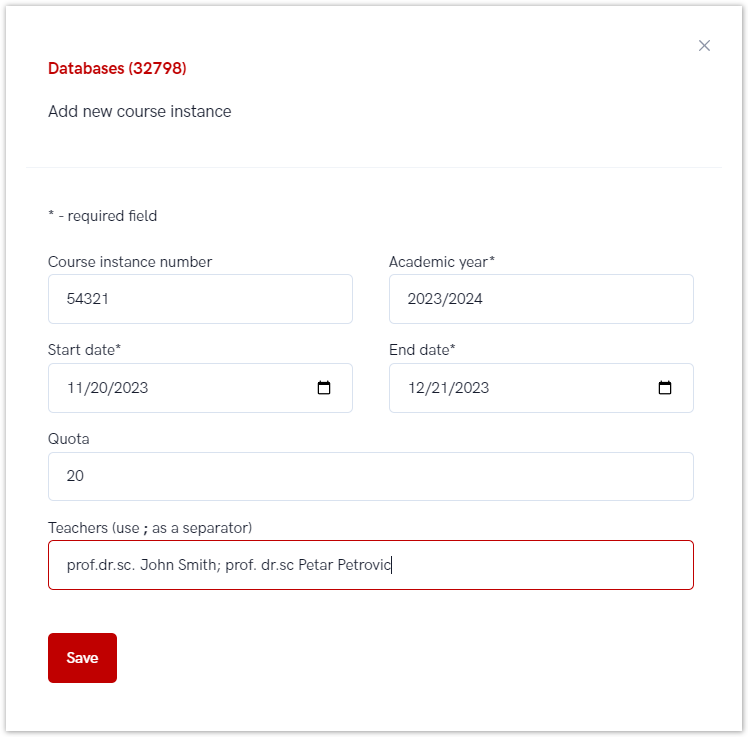
Also, using the New Instance option, the administrator can add a teacher to each instance of the course.
Figure 8. Adding a new instance
...
- name of the course
- the home university,
- student's first and last name
- ESI
- date of enrolment
- method of attendance,
- grade
- grade date
- action - Register grade.
Figure 14. Grading the incoming student
Once the data is complete, administrator can take the register grade action and complete the process.
Incoming finished
Incoming finished option gives an overview of a students who had finished course and got the grade.
| Info |
|---|
| The administrator can see all courses for incoming students who had finished (course is in status 8, course date has ended and the grade has been obtained). For more information about status, please visit site: Status explanation |
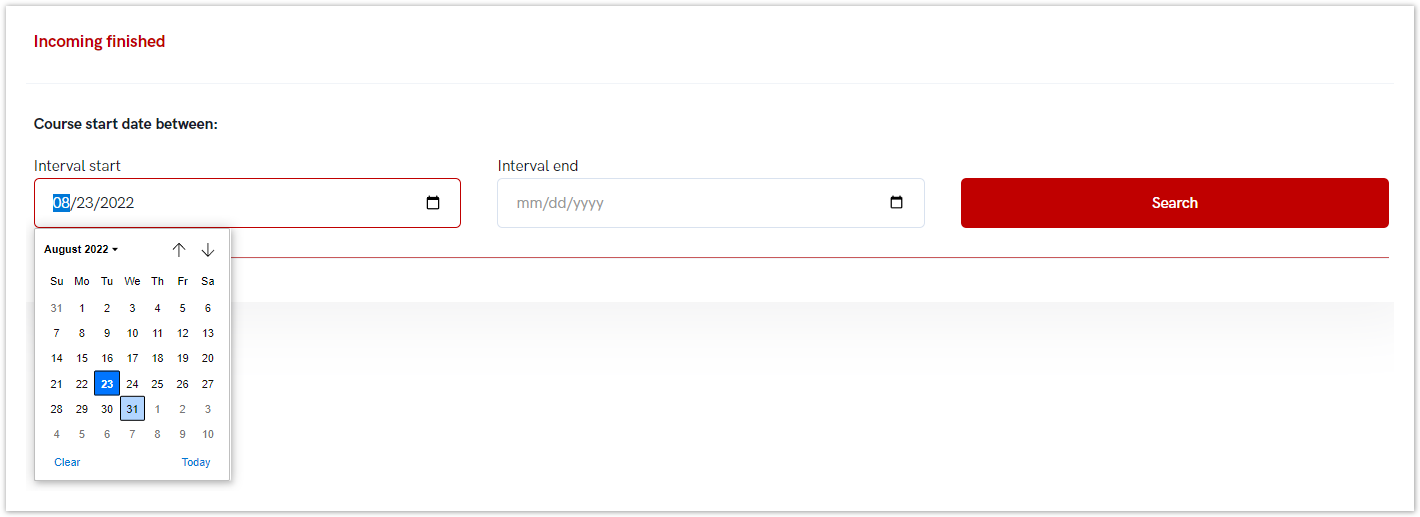
To view the information, the administrator must set a time interval.
Figure 15. Setting the desired time range
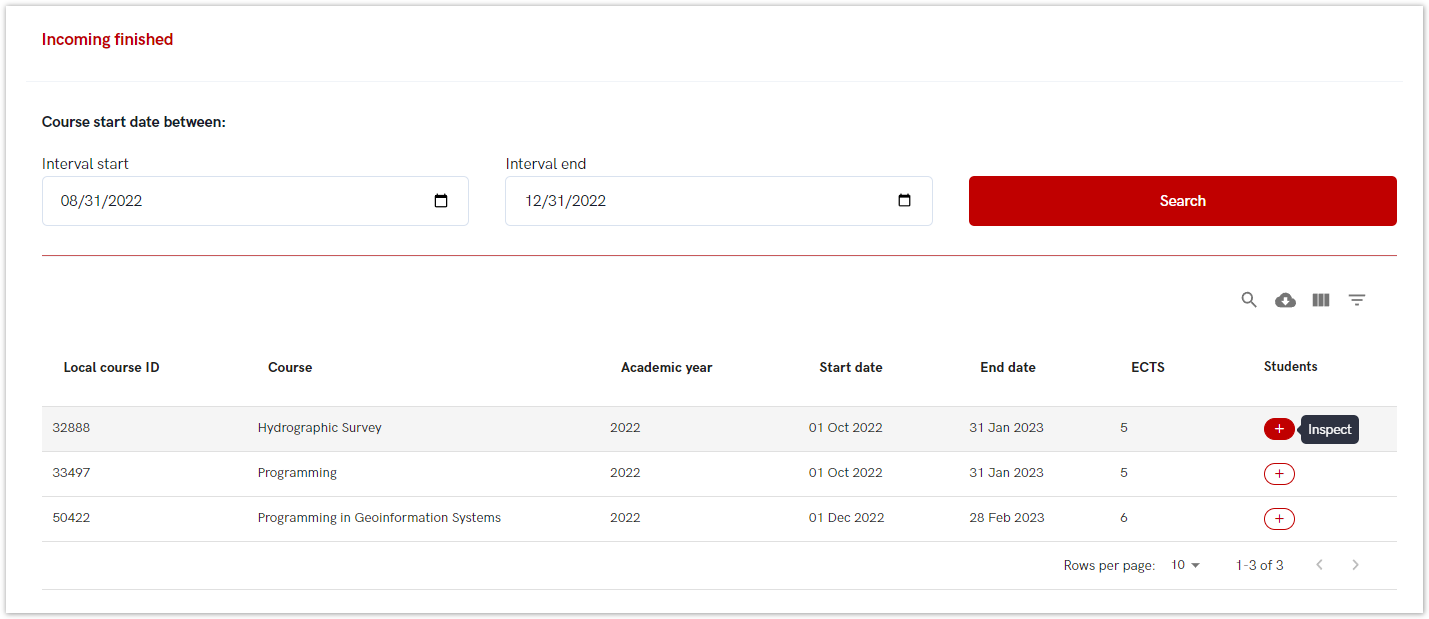
If there are records matching the search criteria, the data is displayed below and the administrator must select the view option to see the details.
In order to view details, administrator must choose the inspect option (plus sign).
Figure 16. Choosing the inspect option in order to view details
A new screen appears with the following information:
- the course the student was enrol in,
- the home university,
- student's first and last name
- ESI
- date of enrolment
- method of attendance,
- grade
- grade date
- action: Edit grade
Figure 17. Details about incoming finished students
In order to change the grade or to change a grade date, administrator must choose edit grade option, enter a new grade and confirm the action.
| Note |
|---|
Grading can be done from the start date of the course. |
Figure 18. Changing the grade or a grade date
Incoming history
Incoming history option gives an overview of a students who had applied for the course but have been denied or have gave up the course, and that course had started more than 30 days ago.
| Info |
|---|
| The administrator can see all courses who had started more than 30 days ago, and are in statuses 2 to 6. For more information about status, please visit site: Status explanation |
...
To view the information, the administrator must set a time interval.
If there are records matching the search criteria, the data is displayed below and the administrator must select the view option to see the details.
In order to view details, administrator must choose the inspect option (plus sign).
Figure 19. Incoming history option
A new screen appears with the following information:
- the name of the course
- the home university,
- student's first and last name
- ESI
- method of attendance, and
- status (statuses 2 to 6).
Figure 20. Information about course history for incoming finished student
